
 |
| from Julie's blog |
Julie was our resident expert for dyeing. She's besties now with all the great people at Dharma (the site we ordered all the dyes from) and walked us through the process. By the way, they have great customer service and will do their best to answer any questions you have about their dyes and the dyeing process.
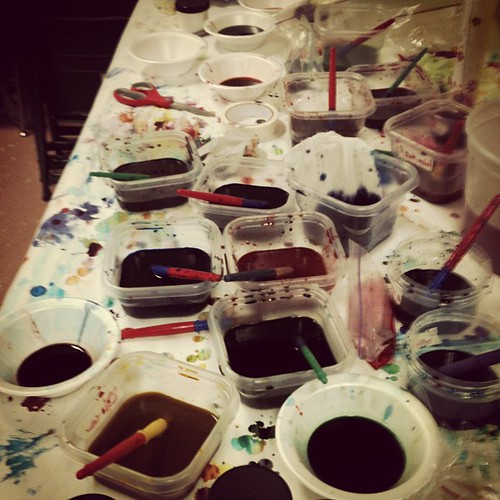 |
| what a mess! |
To begin, you will need:
- a plastic tub full of warm water (to pre-soak your velvet)
- plastic bowls for the dyes (however many you are doing) labeled with name of dye
- dye
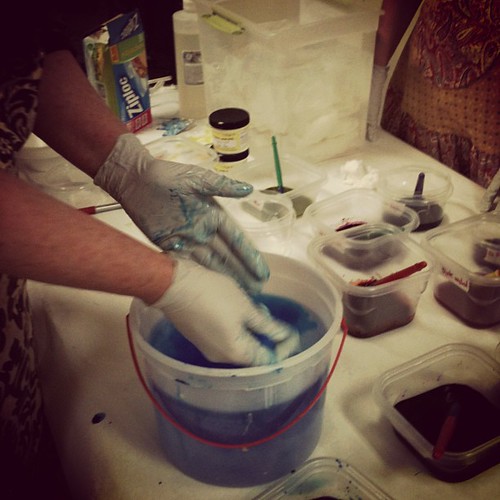
- RUBBER GLOVES (just take a look at the only person who didn't wear gloves at art group--she's the one walking around with blue hands! Deb)
- paint brushes for each dye
- another plastic tub with water for rinsing (you could also just use your sink)
- a microwave (this should be a junker microwave-not something you'll use for food ever again)
- paper towels
- ziplock baggies (size depends on how big your pieces of velvet are)
- Synthropol (you can buy it here) to wash velvet in before and after
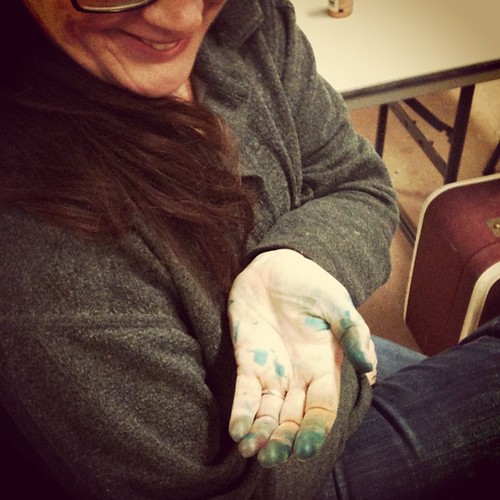 |
| Deb's blue hand! |
This is a VERY messy project! Lots of dripping. So we would suggest you do this in a garage or put something down on the floor to catch those drips.
1. Mix up dyes according to directions.

4. For a more interesting aged look, put the velvet in one dye, rinse it out, then dip it into another dye. For example, I love a velvet I dipped in a teal blue, rinsed it out, then put it in a saffron color. BEAUTIFUL!
5. Rinse it out in your bucket of water or under the faucet in the sink and squeeze out the excess water. If you want a really deep, rich color, don't rinse out in water. Just squeeze out excess dye in bowl.
6. Put in ziplock bag and close, leaving a little opening in closure.
7. Microwave. The time on this is going to depend on your microwave. We put ours in for about 45-50 seconds. Pull out and test to see if it's dry. Put back in for more time until dry.
 |
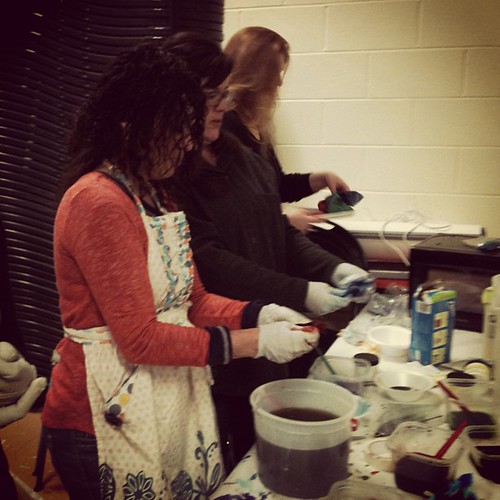
| Lovely Lorraine |
VOILA! You have some beautiful velvet to use in your next project. What will you use it for? We're thinking of using it for a pincushion class we're doing in March.
 |
| from Julie's blog |
Thanks for coming to Art Group this month Art Groupies!! Leave us a comment and tell us about your successes (or not) with dyeing velvet. We'd love to hear from you!
BEEHIVE ART SALON GALS
No comments:
Post a Comment